No products in the cart.
So you’ve entered the world of gluten-free food, and you need some gluten-free baking tips to get you started on your journey. Maybe you’re just trying to eat gluten-free for the health benefits like less inflammation, less belly bloat, healthier skin, better sleep, and more. Or maybe you’ve been diagnosed with celiac disease, a chronic digestive and immune disorder that damages the small intestine. Foods that contain gluten are a trigger for the disease. Celiac disease can cause long-lasting digestive problems and keep your body from getting nutrients.
No matter your reason for moving to a gluten-free diet, making that transition can be overwhelming if you have never baked gluten-free before. Cooking gluten-free can be as simple as substituting one ingredient for the other. However, baking isn’t as straightforward. Baking gluten-free can be tricky at first, but by following these tips, you will be a gluten-free baking pro in no time!
We’re sharing 9 tips to help you make the best gluten-free desserts. They include:
Let’s dive in so you can make the best-tasting desserts imaginable.
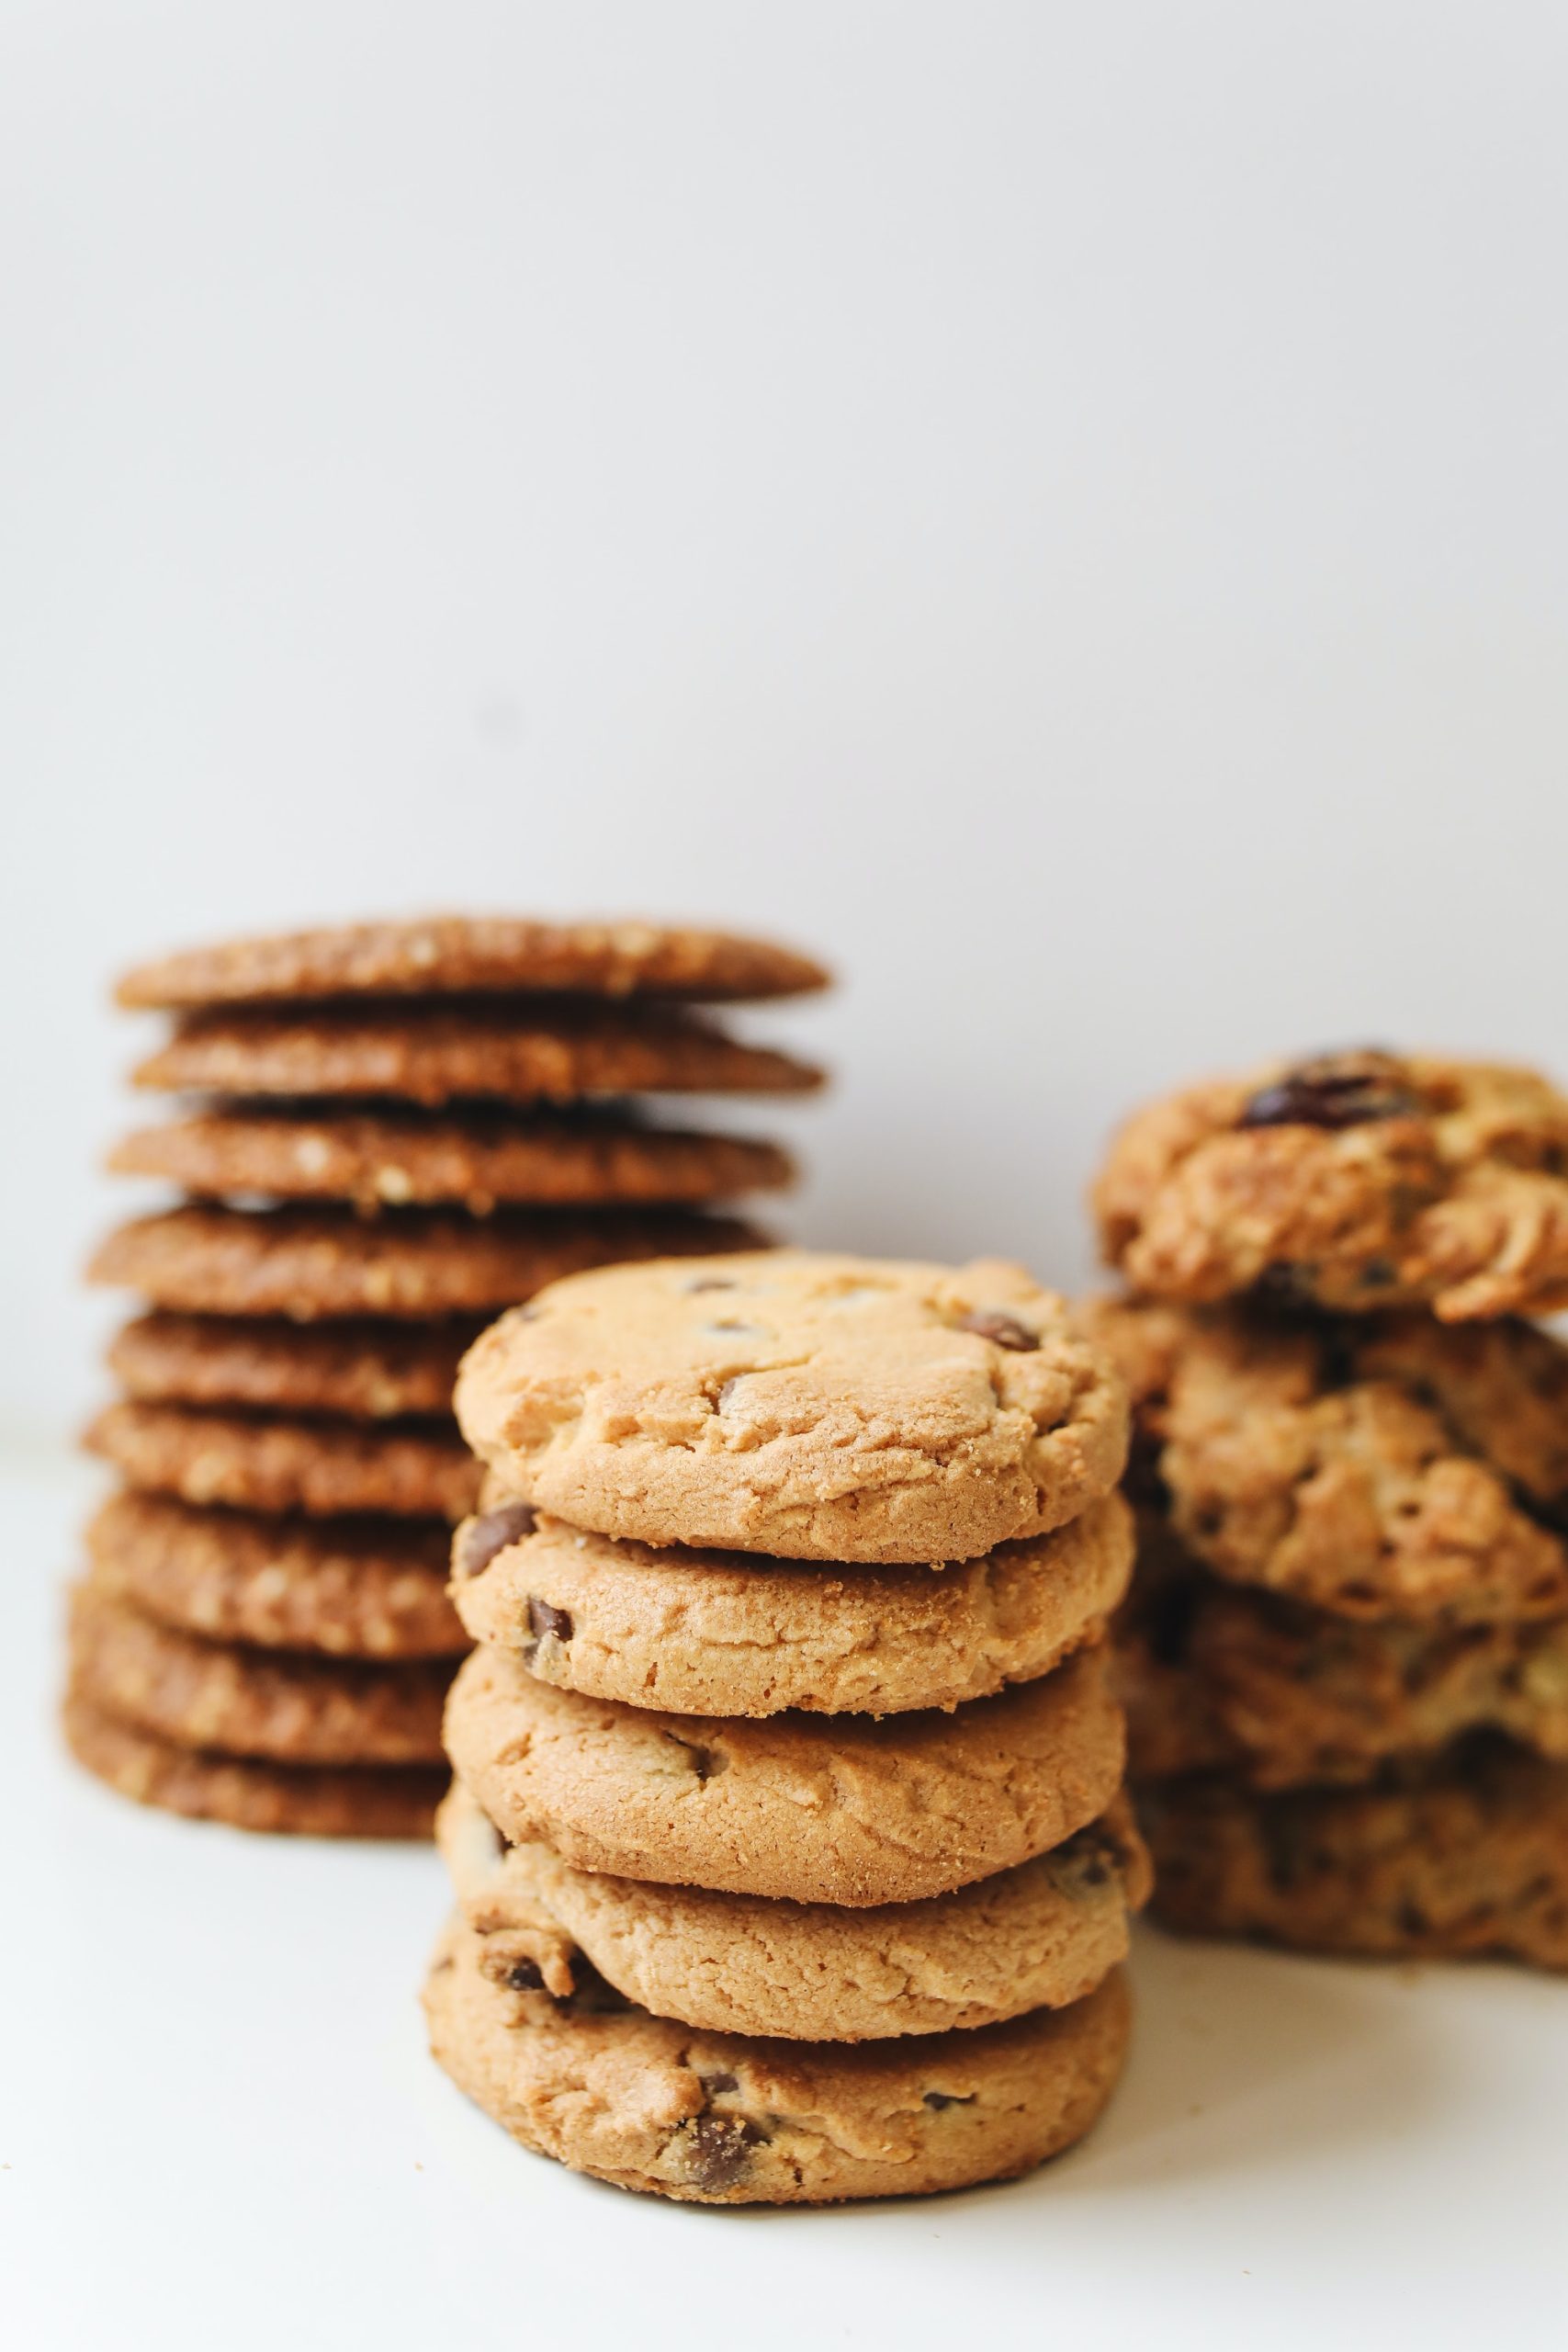
Gluten-Free baking is a lot different than traditional baking. There are so many different flour mixes, and they all react to ingredients a little bit differently. Our first gluten-free baking tip is to start simple. Brownies, cookies, or even pancakes are a great starting point. Then when you get more comfortable, you can experiment with more complex and challenging recipes. It’s also important to stay patient. Our friend Melissa said, “It doesn’t always turn out picture perfect on attempt one, and that’s okay!” Like anything, practice makes perfect, and gluten-free baking is no different. Starting simple will help you gain confidence, and it might not start great, but you’ll get there eventually, so don’t get discouraged. “You should always give yourself credit for jumping in and trying it,” Melissa told us.
“It doesn’t always turn out picture perfect on attmept one, and that’s okay!”
Melissa a.ka. @onehappystomach on Instagram

In traditional baking, it’s common to make adjustments and substitutions. Are you out of an ingredient? Just replace it with something similar. However, following the recipe is essential in gluten-free baking. That’s why our second tip is to follow the recipe closely. You might already have a favorite brand of gluten-free baking mixes (if you don’t, we suggest trying Josie’s Best Gluten-Free Mixes). No matter what brand you prefer, they most likely have recipes for you to try. These recipes are tested for their products, so use these recipes, and follow them closely so that you can learn how the mix reacts to other ingredients.
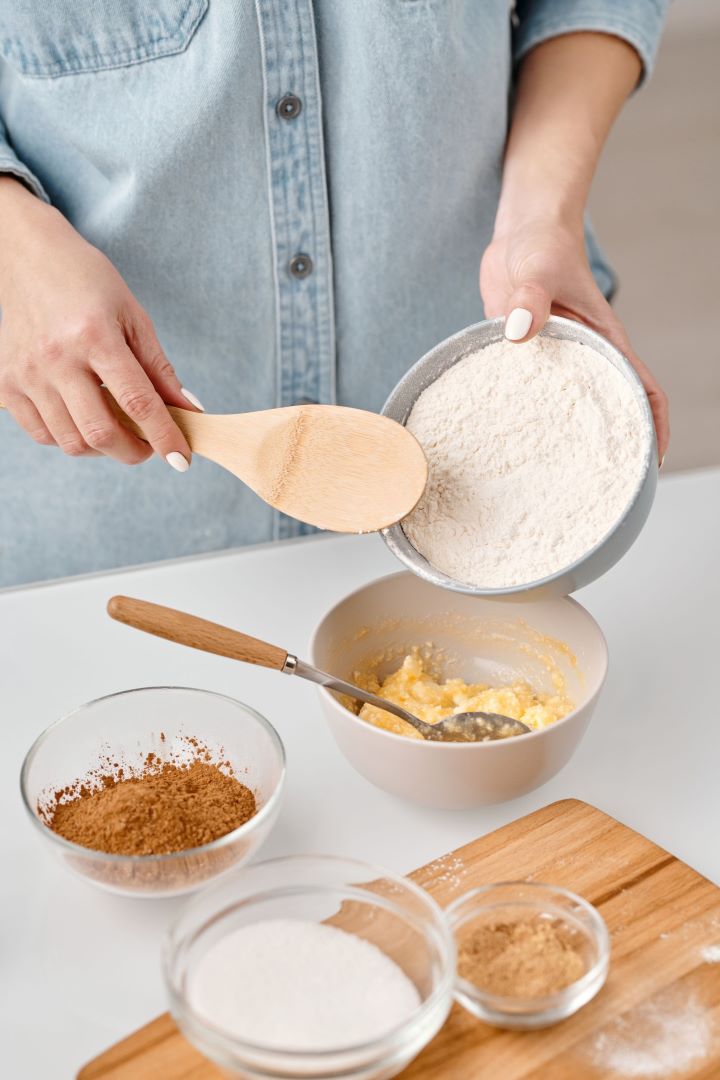
Gluten-Free flour is a lot finer than traditional wheat flour. Simply using a measuring cup can lead to inconsistencies. If possible, use a kitchen scale and measure your ingredients by weight. Using weight to measure your ingredients will lead to the best results. However, if you don’t have access to a scale or the recipe only provides the amount needed, use a measuring cup, and level it with a flat edge. Make sure you don’t pack it down, as this can mess with the recipe. Measuring by weight won’t make or break your dessert, but it is recommended for the best results.
You’ve probably heard that gluten-free flours absorb more liquid than traditional flour. Measuring ingredients by weight helps keep the recipe balanced, leading us to our next gluten-free baking tip.
When you first start your gluten-free baking journey, you’ll likely notice that the ratio of the ingredients is different from traditional baking. These measurements are because gluten-free flours have more fine starches, which cause them to absorb more liquid.
You’ll quickly realize those gluten-free recipes call for more wet ingredients, which yields a looser batter. The most common thing you will see is an extra egg that will add to your baked goods’ structures. It is also pretty common to add more baking powder to help leavening.
As we mentioned, most brands will provide you with recipes, and these were created with that specific flour in mind, so follow the recipe, and the results will show. However, suppose you’re trying to develop your recipes or convert a classic recipe to gluten-free. In that case, it will be essential to understand how your flour reacts to liquids and find the right balance of wet and dry ingredients.
Gluten-Free flours tend to have a specific taste, which can be undesirable to some. Our next tip (which happens to be our favorite one!) will help you solve this problem.
All of the tips we’ve given so far are great and will help you make great-tasting treats, but this tip is easily our favorite. Most gluten-free flours will have a unique taste, which can be hard to get used to eating. That’s why we recommend adding extra vanilla. Adding more vanilla or other spices/flavorings will help cover these unfamiliar flavors. Besides, who doesn’t love the smooth taste of vanilla–we certainly do!
You will often see recipes that say not to overmix the batter in traditional baking. Overmixing can cause the batter to develop gluten, resulting in a tough and unpleasant texture. There is no gluten with gluten-free baking, so you don’t have to worry about that. Gluten-free mixes can benefit from more mixing because the extra mixing can create a better rise. So break out those electric mixers, and get to mixing–your dessert will thank you.
So, you found a simple recipe, followed it closely, added the ingredients, and gave it a good mixing. You probably think it’s time to throw it in the oven. Not so fast. It’s time to take a little break. You’ve earned it!
“The Best Tip EVER!”
–Nicole Kendrick, Gluten-Free Recipe Creator and Certified Nutrition Coach on letting the batter rest before baking
Our next tip is probably the most important. Our recipe developer, Nicole Kendrick, called this “The best tip ever.” Even the highest quality of gluten-free mixes can have a gritty texture. That is the biggest hurdle for most people when switching from traditional to gluten-free baking. Let your batter rest before baking, and you will have the best results. Allowing the batter to rest gives it time to hydrate and soften. This tip is significant for baking foods with shorter baking times like cookies or even pancakes.
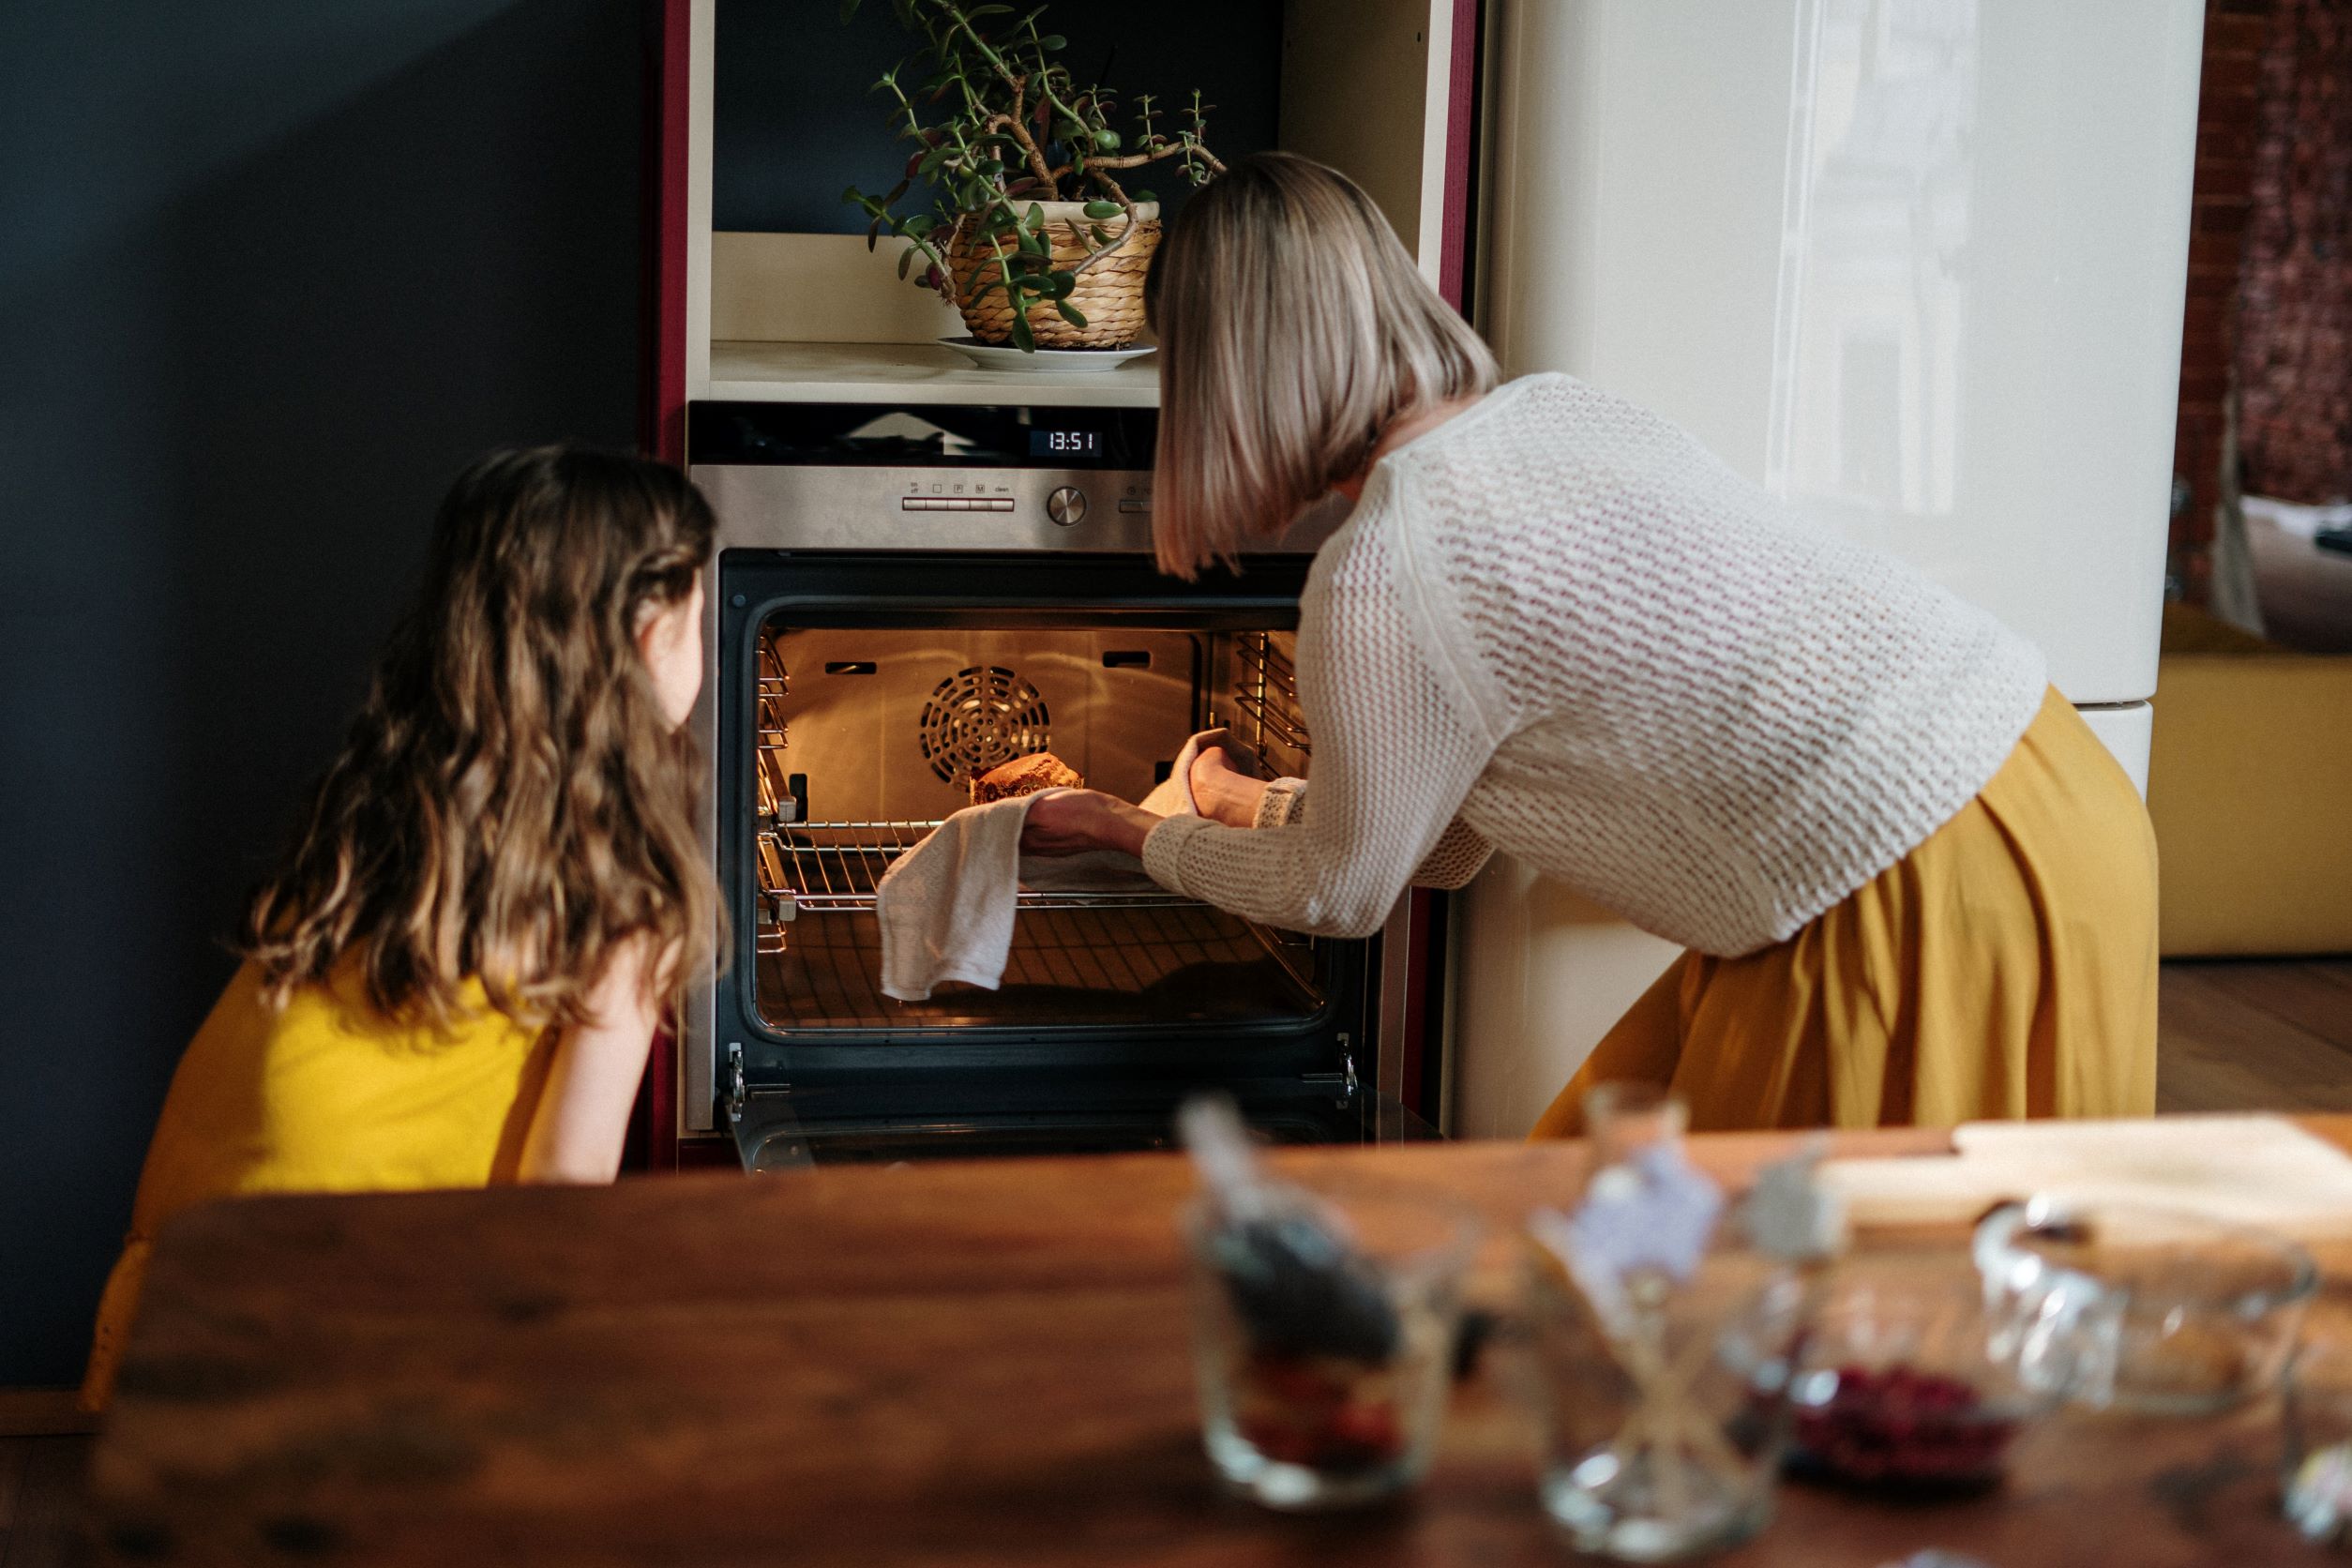
As we mentioned, gluten-free baking usually calls for more wet ingredients. The extra liquid means that most recipes will need to bake longer than a traditional recipe. Removing your baked good from the oven too soon can lead to a mushy dessert. Most people will rely on visual cues to determine the baking time in traditional baking. However, following the baking time according to the recipe with gluten-free baking is crucial.
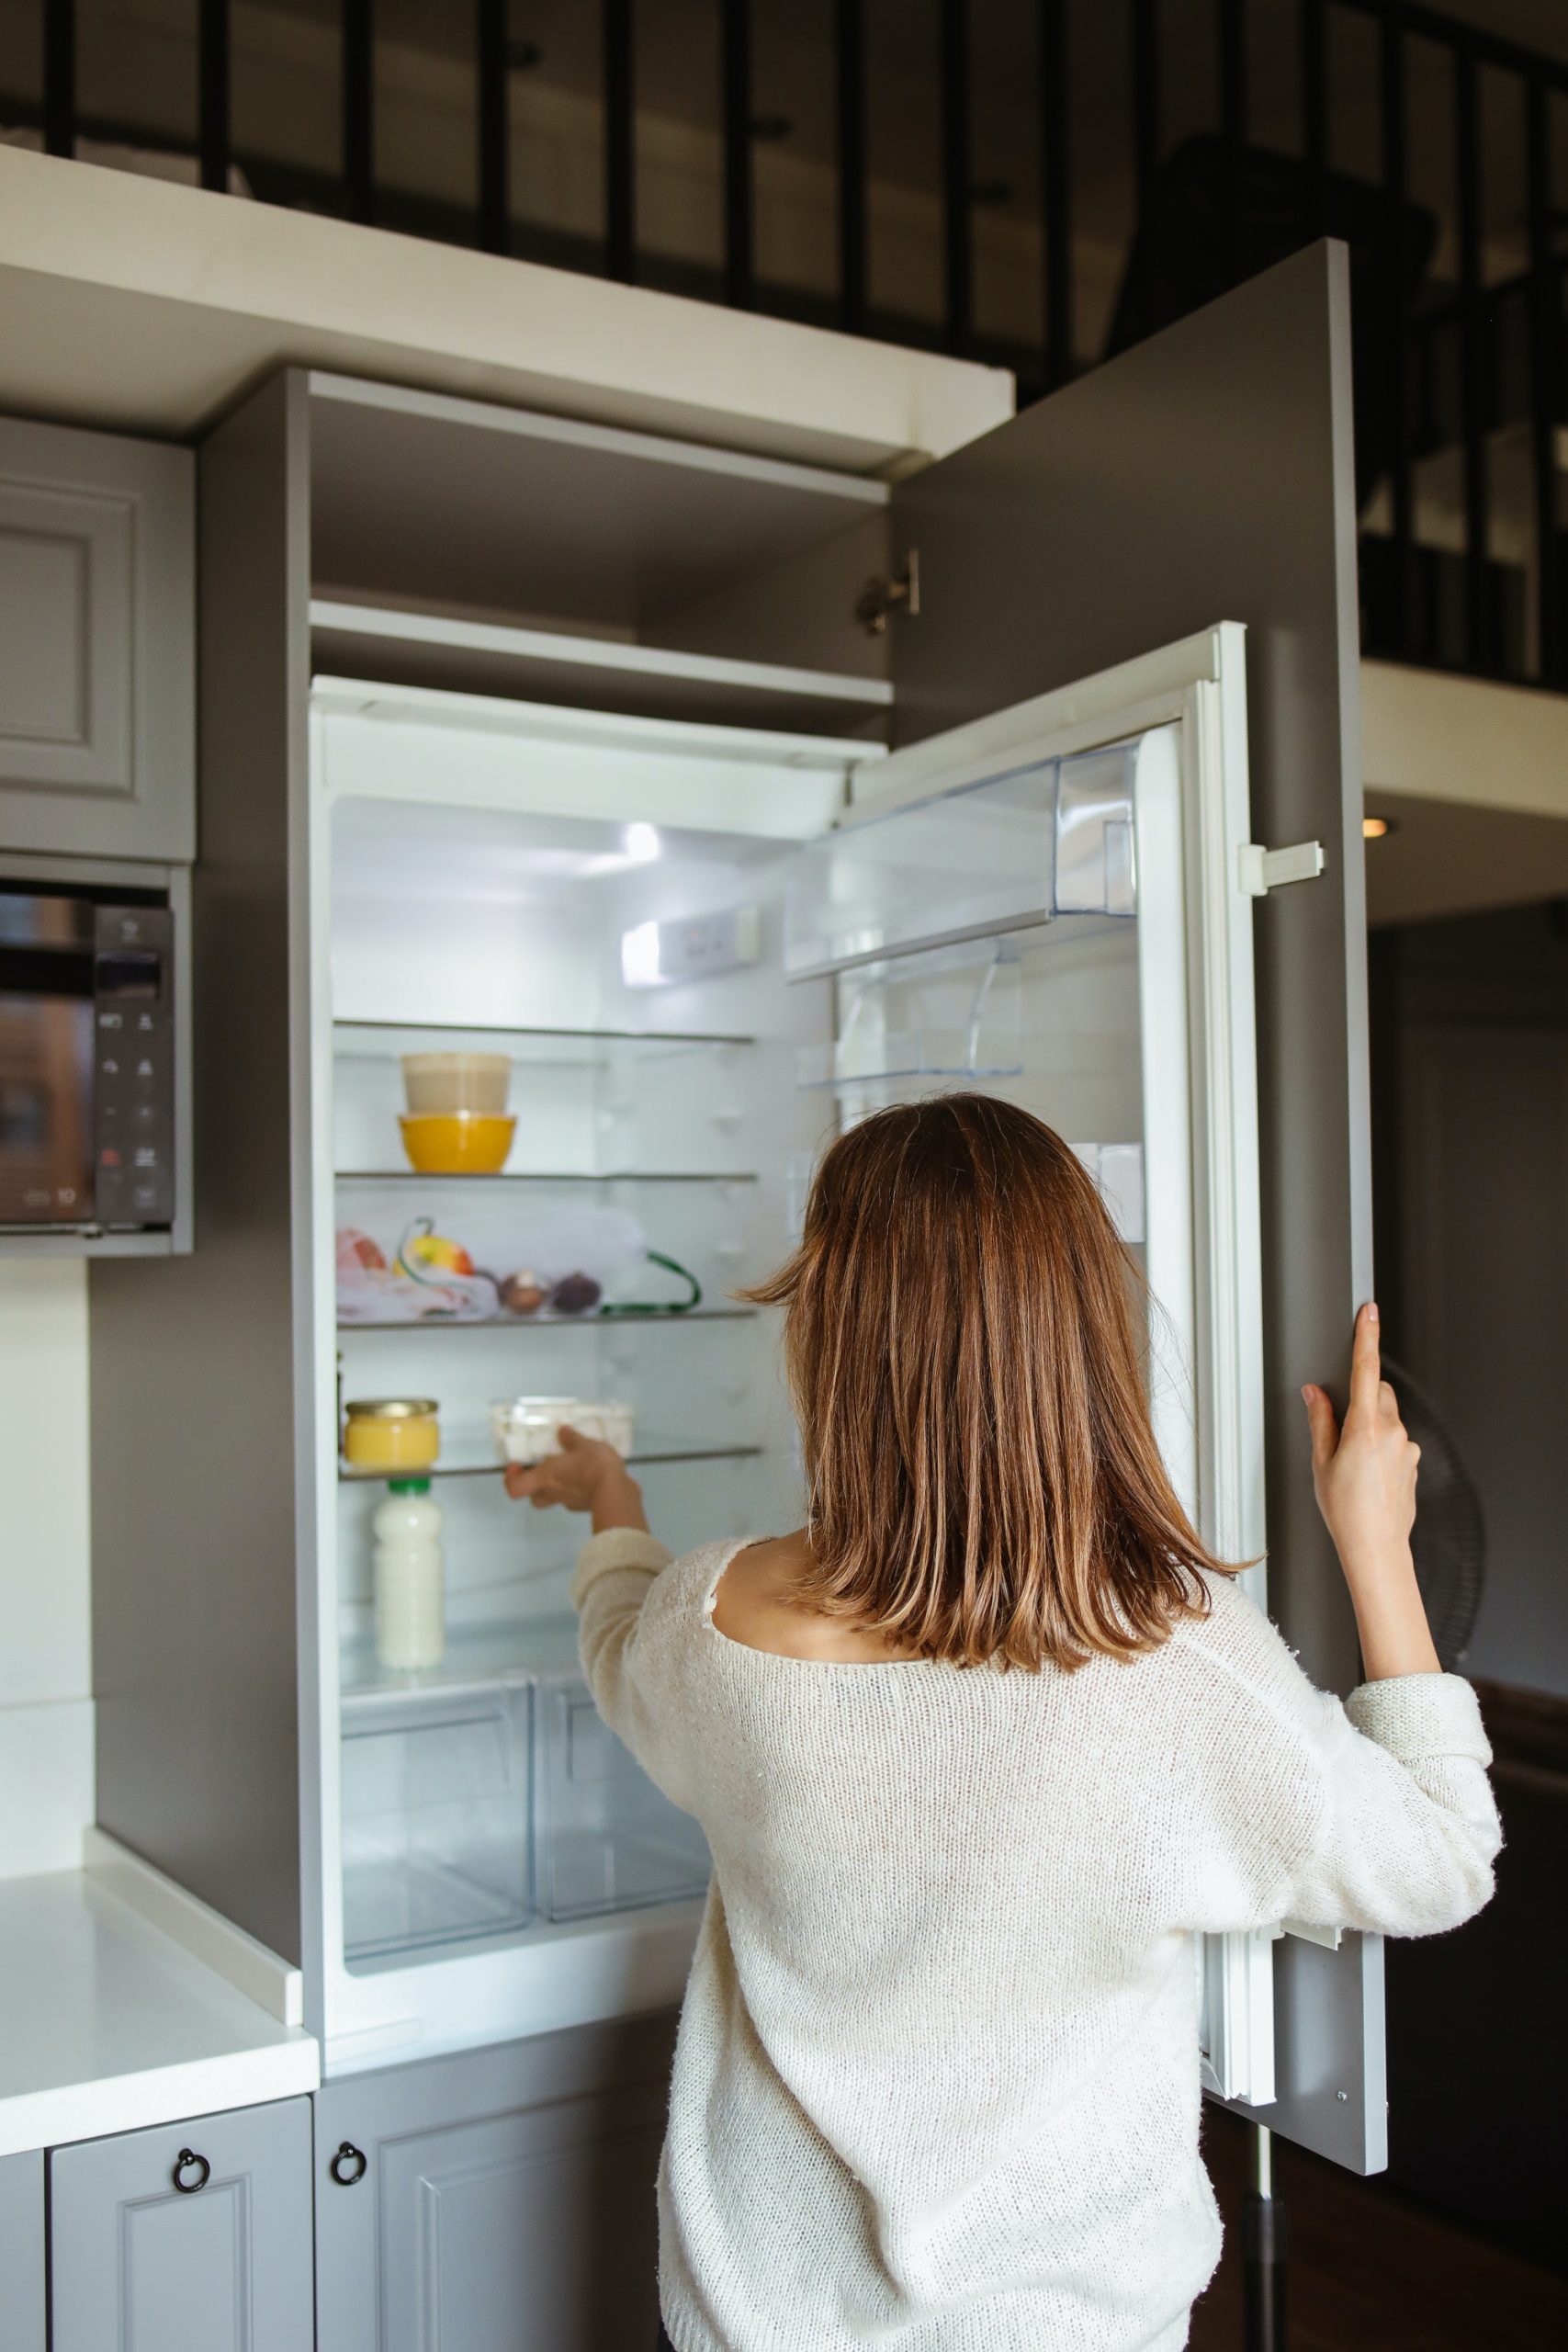
While there are many great store-bought gluten-free treats and baked goods, there is no replacing homemade desserts. No matter how much you love to bake, sometimes we run out of time and motivation to bake. After all, it can be very time-consuming. Our last gluten-free baking tip is to take advantage of your freezer. Whether you make an extra batch or save the leftovers, freezing a portion of your baked goods will save you time in the long run—things like waffles, brownies, cupcakes, and bread freeze very well. Gluten-free baked goods lose their freshness quicker, so freezing them can keep them fresh and give you more time to do the other things you love.
“I always listen to fun music that I can dace to WHILE I’m baking, making it even more enjoyable and silly.”
Melissa from @onehappystomach when asked for baking advice
Our friend Jenna recommends spraying the measuring cup with cooking spray when measuring nut butter. Doing this will make the butter come out quickly with little to no mess.
Here’s another excellent tip from Jenna, known on Instagram as @jennaliveswell. She says when you’re working with the sticky dough, you should wet your hands before rolling to avoid winding up like a sticky mess.
“I always listen to fun music that I can dance to WHILE I’m baking, making it even more enjoyable and silly,” Melissa said. This advice might not change how your desserts look and taste, but we thought it was necessary considering our silly name! If we told you to take one of these gluten-free baking tips to heart, it would be this one. Life is too short not to have fun, so be silly!
Don’t worry if your baked goods aren’t turning out the way you expected. Gluten-free baking can take some time to get the hang of it. Still, we hope these baking tips can help you gain experience and help you create some of the most delectable desserts that you can imagine. If you’re looking for some recipes to try and practice your baking, be sure to check out our allergy-friendly recipe page.
If you found these gluten-free baking tips helpful or if you have more tricks to help with gluten-free baking, leave a comment below.